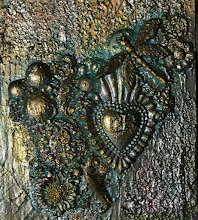
I've been creating in the studio again. This time I played off of the Tropical Pradise theme from the Drinks Tin and created an altered journal for a swap. After I completed the entire project, I gave it two coats of Modge Podge and a final spray of Clear sealer to protect it. I love the way this turned out.
The sand is actual sand and glitter mixed. It is applied by running the tan colored cardstock, which has been torn by hand to give it an uneven shoreline like edge, so the adhesive is on the top. After the adhesive is applied, you just sprinkle your sand and glitter mix over the adhesive and press with your palm to make sure the majority sticks. After that, I just add a thin layer of modge podge to seal the top. Once the entire front cover was finished, I again added several coats of Modge Podge to seal it well. After that drys completely, a couple of days, I spray the entire surface with a clear sealer. I have found that without this last layer of sealer, the modge podge remains tacky and will stick to anything... The palm tree was cut from the cricut using the doodletype palm, I then hand cut the fringed edges, I find it gave it more dimension.


Here are a couple of recipes I did for two different swaps. The top is for a Chocolate swap. We had to use pink and brown colors and the recipe had to contain chocolate. The bottom recipe was for a March Recipe. It could by any recipe but it must contain the word March somewhere on the card.


